So this is the hard graft bit. I marked out the shape of the pond using diatomaceous earth, the only thing I could think of. As you can see, the lawn slopes up here for some unknown reason, and the curve makes it a complete arse to mow so it was doubly a good spot to site the pond.

I drafted in some extra help at this stage, you can see at the back as the turfs come off they are being packed onto the hibernaculum


 |
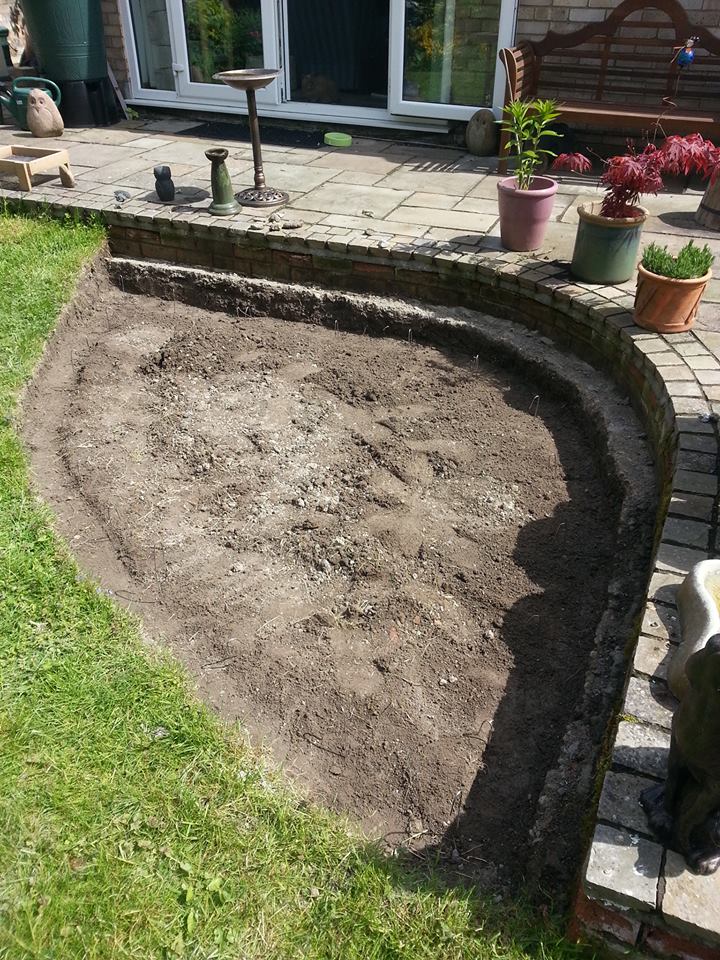
| This will be my view of the pond from the garden bench, minus the planters of course. |
First of all I levelled all the way round what would be the top edge, basically using a 1m long spirit level and my archaeology trowel. It has been lovely using that again even though I wasn't digging up anything interesting. I marked the edge of this level (approx a spade width) with some metal pegs. I did this for subsequent levels too to make sure they weren't accidentally dug out.
 |
| After I went away, about a half dozen sparrows moved in for a dust bath |

In the next pictures you can see the reason for the slope in the lawn; the foundation for the patio suddenly drops away. I still have no idea why it does that


Making sure all stones were removed from exposed surfaces

I have no outside access to my back garden as a large conservatory was built all down the side of the house, so all the spoil had to be carried through there. I bought a folding wheelbarrow as I couldn't carry the buckets that far, and being narrower than a regular one it fitted easily through the doorways and wiggled round the broom cupboard, along the path in front of the kitchen window, to the driveway.

We worked out quite quickly that we would not be able to dispose of approx 4 cubic metres of soil on our own property and we had to get a skip in. We ordered a 4 yard skip but they brought us a 6 yard one as they had run out on the day we wanted it delivered. We still did quite a decent job of filling it

The digging turned out to take far less time than anticipated. Here we already have the first two shelves dug out. We spent several hours over a weekend getting to this stage without destroying ourselves, although it did catch up with us later in the week. We spent two more evenings after work on it and had the skip taken away after four days.


You can see the lovely, easy to dig topsoil doesn't go very far down. The very pale stuff is clunch; a chalky clay that is fairly hard and hardens further once it is exposed to the air (as we were to discover on Monday when we cut out the very bottom)

 |
| "Can I get some hot water in here?" |

The brown streaks of topsoil in the clunch were made by huge deep level worms. Our blackbirds got very friendly with us while we were doing the digging :o)

The wide 'beach' area was sloped more after this picture was taken. That and the ramp in the corner are to desperately make sure nothing ever drowns in there


These last two shots were taken standing in the bottom of the pond. It is approaching 1m deep but will fill up again slightly before we are finished


May/June 2013
No comments:
Post a Comment
Please feel free to comment or question. I will be happy to help where I can